One of the more common causes of driving test failure results from student drivers failing to check their mirrors. Students may have mastered all driving maneuver skills but failed to demonstrate awareness of the situation 360 degrees around them. Scanning ahead for oncoming hazards is a required skill in itself. Ensuring you are up to date with events to your front, left, right and rear may not only ensure you're a safer driver but also make the difference in whether you pass or fail your practical test.
Students often ask "When should I check my mirrors?" or "When should I check my mirrors during the driving test?". These may be the wrong questions to ask as the answer is constantly and the question should be framed in terms of complete situational awareness. This includes forward observation as well as use of your mirrors. For context, we will look at scanning ahead for hazards first before examining correct use of mirrors.
1. Scanning Ahead For Hazards
1.1. How Far Ahead to Scan
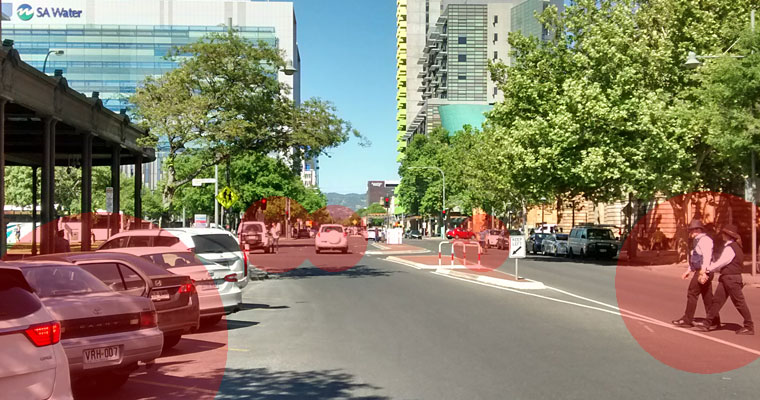
The SA government advises you look up to 12 seconds ahead of your position. At 60km/hour this is about 200 metres (a bit longer than an average school oval). At 90km/hour about 300 metres. You should look as far ahead as practical and scan for movement and changes in conditions ahead. You may need to look through the rear window of the vehicle in front to see further up the road.
1.2. How to Identify Hazards
A hazard doesn’t have to be something dramatic or obviously dangerous. It can be anything that requires you to take some action to avoid danger. One way to get into the habit of thinking about hazards is to have your instructor say them out loud when you're driving. Some hazards are obvious or predictable (e.g. roadworks, road workers, vehicles or pedestrians moving across your line or stationary objects such as traffic lights, road junctions or vehicles. They may be vehicles moving at a slower speed than you are. Remember your hazard perception test.)
Other hazards are hidden or unpredictable e.g. a car at the side of the road on a narrow street where somebody could get out without warning – where there is no room to give necessary distance for a door to swing open. A hazard that is obscuring the view of a driveway – where a car could come out or where a child could run out onto the road.
Experienced drivers can identify hazards without thinking - not just the obvious ones, but hidden hazards too. Once identified, they keep track of them until they’re no longer a potential risk. This takes the learner driver some time to learn.
The first part of that is learning to scan ahead. Good drivers aim high with their eyes. Moving their eyes back and forth and side to side…and constantly scanning out where they want to be in 12 seconds time. The idea is to get the big picture all time. You’re not just looking for hazards but also thinking about where you can safely steer towards to avoid them.

1.3. Scanning Routine Summary
Practise the scanning routine summarised in this section. Start with:
- scan up to 12 seconds ahead
- check your mirrors every 8 - 10 seconds
- check your blind spots with a head check before you turn or diverge
2. Blind Spots
Checking blind spots are also known as head checks or shoulder checks. Many crashes occur because drivers don’t perform head checks and frequently failing to do so in your test will result in failure. You should check your blind spots before changing your road position. Do not drive in the blind spot of other vehicles.
You must head check your blind spots before:
- Changing lanes
- Leaving or returning to the kerb
- Merging or diverging
- Reversing – for vehicles and pedestrians that may not be visible in your mirror
- Turning left – looking for pedestrians, bicycles and motorcycles that could be beside you in your blind spot
- Turning right – looking for vehicles that may be overtaking you
- Joining the traffic stream
- Leaving the inside lane of a multi-lane roundabout
3. How to Use Your Mirrors
3.1. How to Set up Your Mirrors
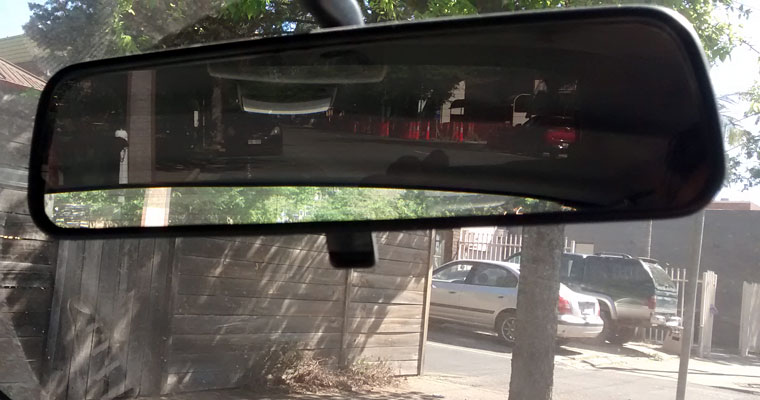
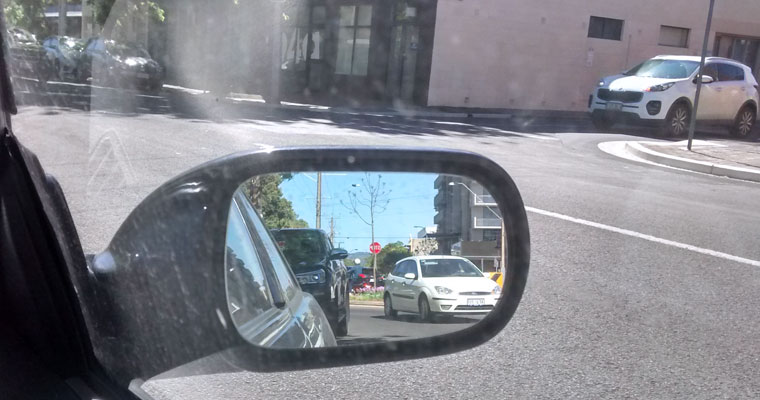
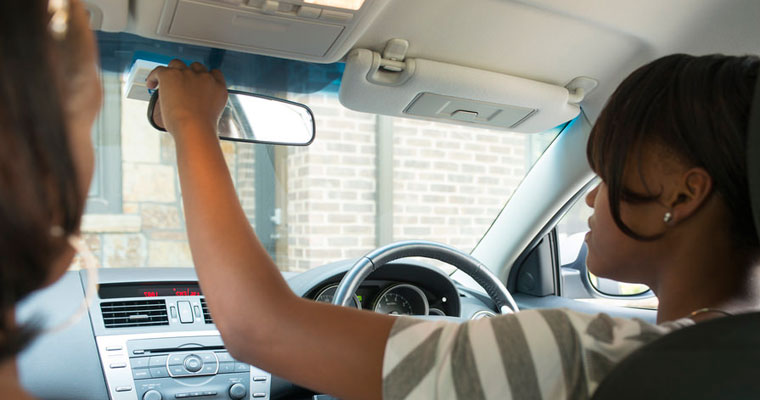
Before driving you should check your driving position is comfortable then make sure the car’s mirrors are set up correctly. The centre mirror should have the whole of the rear window in view and the side mirrors should have the horizon in the middle of the mirror with a good view to either side of the car.
3.2. Why You Need to Use Your Mirrors
Maintaining a safe gap with other traffic while driving reduces danger and can even prevent a crash. Maintaining this safe distance around your car helps create a safety zone to allow for other drivers mistakes. However you can only keep the safety zone in place by knowing what is going on all around your vehicle – including behind and to the side of your car. This needs regular and effective use of the mirrors. E.g. if you see in your mirrors that another car is driving very close behind you can increase following distance to the vehicle in front. This will allow more time to slow down and reduce the danger from the car behind.
3.3. When to Check Your Mirrors
It's a good idea to use your mirrors regularly whilst driving to keep an awareness of what is behind and to the side of your car. Remember the scanning routine, these checks should be every 8-10 seconds. Experienced drivers do this automatically. This could be important in an emergency because if we already know where vehicles are around us we would know how best to react to danger. Even when driving along a quiet road you should perform occasional mirror checks although your main focus should be in front of the car. There are other times when using mirrors is compulsory, such as when indicating or changing road position or speed. In a practical driving test you'll need to demonstrate to the examiner you can use your mirrors effectively in these situations.
3.4. Mirror Use When Pulling Away
Another one of the most common reasons for failing a practical driving test is pulling away from a stationary position unsafely. When pulling away you should look for danger in both left and right blind spots and all three mirrors. It is also a good idea to quickly check the right door mirror one more time just before pulling away to ensure it is safe to go. If it isn’t safe and you need to delay pulling away then you must check the blind spots and mirrors again in case there's a new hazard.

3.5. Mirror Use When Indicating
One of the most important safety routines when driving is check mirror, indicate, manoeuvrer. If you follow this routine in the correct order when making decisions it will help to keep you safe. A mistimed or incorrect signal could cause other vehicles to take evasive action, so you need to check where everyone is before using indicators.
If you're considering indicating left at a junction you should check the centre and left mirrors for danger first. Then you'll know if another road user is behind or alongside the car…and then only if its safe indicate then carry out the intended manoeuvrer.
If you need to turn right at a roundabout you should check the centre and right mirrors to look for danger behind or beside the car before indicating to commit to the manoeuvrer. Then as you're driving around the roundabout you need to check the centre and left mirrors for danger before signaling to leave the roundabout safely.
3.6. Mirror Use When Changing Road Position
You must always check your mirrors for danger before changing road position or direction to ensure you know if there are any vehicles nearby. If you steer without checking its safe beforehand you could be in danger of having a collision.
If you're about to overtake a parked car on the left side of the road then you would check your right mirror for danger before steering to the right. There could be another vehicle overtaking your car and if you spot this danger you should brake and stay in your lane to avoid a possible collision.
Another situation when you might need to change your road position is when you're driving on a multi-lane road. If you need to change lanes to the right or left then you should always check the appropriate mirror for traffic approaching from behind and only leave your current lane when it is completely safe to do so. On faster roads watch out for traffic that is approaching quickly from behind as it would be dangerous to steer into the path of a speeding vehicle. Remember to indicate after performing your mirror checks and prior to performing your manoeuvrer.
3.7. Mirror Use When Changing Speed
If the road is about to change to a higher speed limit, before you speed up you should check the mirrors in case another car is about to overtake you. Increasing your speed at the same time could put everyone in danger. If the road is about to change to a lower speed limit you need to check the mirrors in case you're being followed closely before reducing your speed. If another vehicle is close to behind you, brake more gently to give the other vehicle more time to react. You should also check mirrors any other time you need to brake. Such as when stopping for a traffic light or pedestrian crossing.
4. When should I check my mirrors during the driving test?
The first thing you should do in a driving test is to ensure your mirrors are correctly positioned in the test vehicle to provide a 360 degree view combined with your blind spot head checks.
Remember to check the mirrors before:
- Pulling away
- Indicating
- Changing road position
- Changing speed
Combining this with your head check a typical scenario would be:
- check your mirror(s)
- indicate
- head check your blind spot
- merge*
*Merge could be substituted for pulling away from the kerb or any other action that changes your road position.
You should make it obvious to your examiner that you're carrying out these mirror checks by moving your head and eyes.

I can help you pass your VORT!